


How to Update Nuvoton TPM Firmware
Applications
The TPM firmware update are only applicable to the following models.
| Product Name | CPU Generation | TPM FW Version | BIOS version or later |
|---|---|---|---|
| B360 | Ultra Series 2 | 7.2.4.1 | R1.00.070520 |
| B360Plus | Ultra Series 2 | 7.2.4.1 | R1.03.070520 |
| F110 | 13th Gen | 7.2.4.1 | R1.00.070520 |
| F120 | Ultra Series 2 | 7.2.4.1 | R1.06.070520 |
| K120 | 13th Gen | 7.2.4.1 | R1.00.070520 |
| S410 | 13th Gen | 7.2.4.1 | R1.00.070520 |
| S510 | Ultra Series 1 | 7.2.4.1 | R1.00.070520 |
| S510 | Ultra Series 2 | 7.2.4.1 | R1.00.070520 |
| UX10 | Ultra Series 2 | 7.2.4.1 | R1.07.070520 |
| V110 | 13th Gen | 7.2.4.1 | R1.00.070520 |
| V120 | Ultra Series 2 | 7.2.4.1 | R1.00.070520 |
Update Procedures
Please ensure below initial conditions are all set before starting TPM firmware update:
- Connect device with AC adapter and with at least 30% battery power
- Ensure that Secure Boot state is on/enable
- Disable BitLocker function
Check Secure Boot State
1. Type “msinfo32” in the search bar near windows start icon ![]() and enter to initiate the “System Information”.
and enter to initiate the “System Information”.

2. Look into “system Summary” and find the information of “Secure Boot State” and make sure it is on.
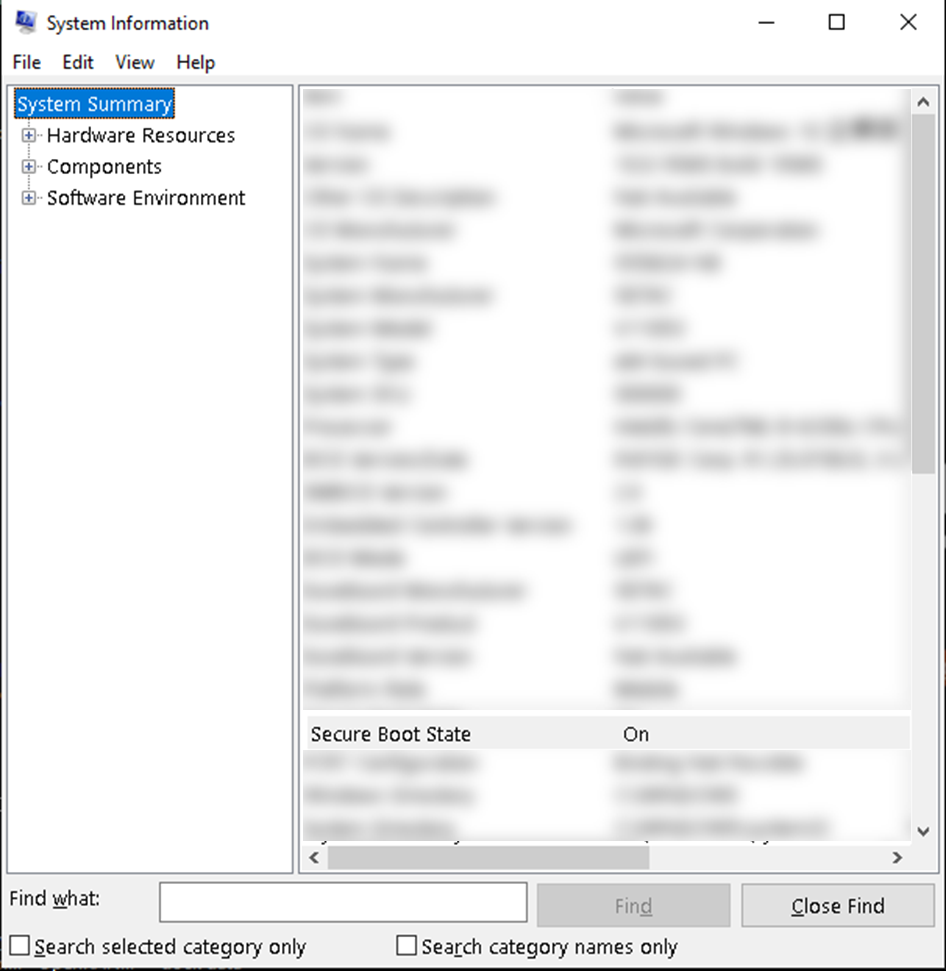
3. If the state is NOT “On”, then check the instruction below the enable the secure boot.
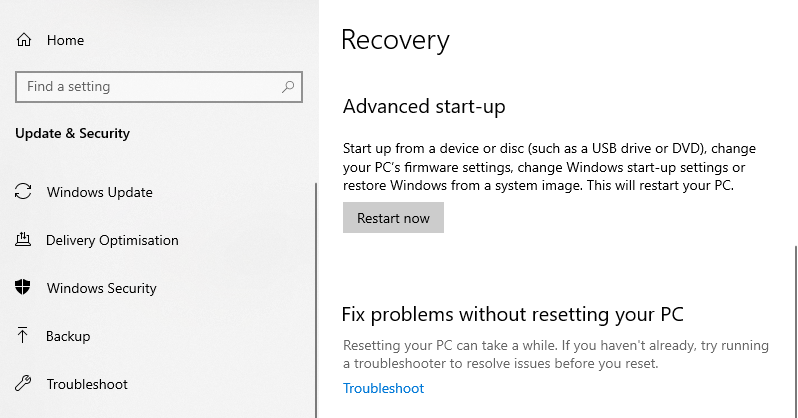
Enable Secure Boot
1. In Windows 10 OS: Settings → Update & Security → Recovery → Advanced start-up. In Windows 11 OS: Settings → System → Recovery → Advanced start-up.
2. Click “Restart now”, then system would show a screen of options.
3. Choose “Troubleshoot” → “Advanced options” → “UEFI Firmware Settings”.
4. System would request to confirm the options “Restart to change UEFI firmware settings”, click “Restart” to continue the actions.
5. System would show the pre-boot menu, please go to “Setup Utility” → Tab “Security” → enter “Set Supervisor Password” → set passwords → confirm OK on the pop-up dialog “Changes have been saved after press “Save and Exit”.”
6. Option “Secure Boot Configuration” appears on the Tab “Security” after last move.
7. Enter “Secure Boot Configuration” → Select “Secure Boot” → Select “Enable”.
8. The Secure Boot state has been changed to enable after saving the change.
Disable BitLocker Function
Warning: TPM firmware update will cause loss of all TPM keys and data protected by those keys. It is important to disable BitLocker before applying the update.
1. Disable BitLocker on Windows OS. Select Control Panel System and Security BitLocker Drive Encryption. Click Turn off BitLocker. (Picture 1)
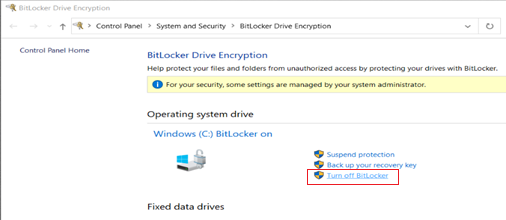
Picture 1
2. Click Turn off BitLocker (Picture 2) to confirm decryption drivers
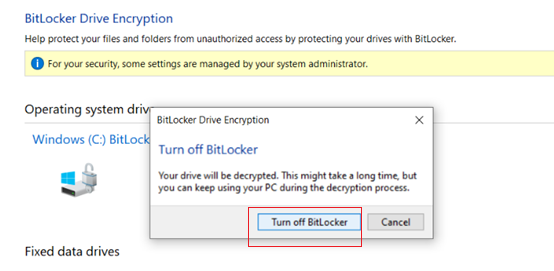
Picture 2
3. Wait for decryption process to finish (Picture 3)
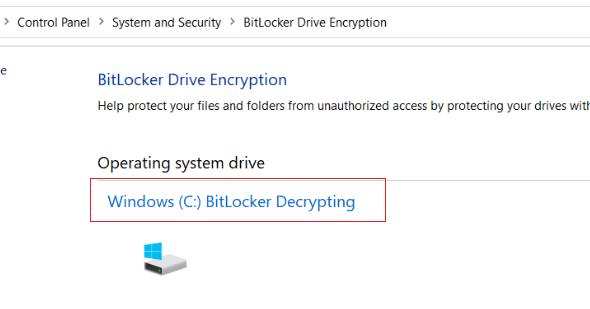
Picture 3
4. Bitlocker function is successfully disabled when the window shows BitLocker is off (Picture 4)

Picture 4
Update TPM Firmware
1. Double click “Nuvoton NPCT7xx TPM 2.0 Firmware Update 7241.exe” or “Nuvoton NPCT7xx TPM 2.0 Firmware Update 7241-MTL”to run the file
2. Click Yes button to approve the administrator privileges for updating TPM firmware (Picture 5)
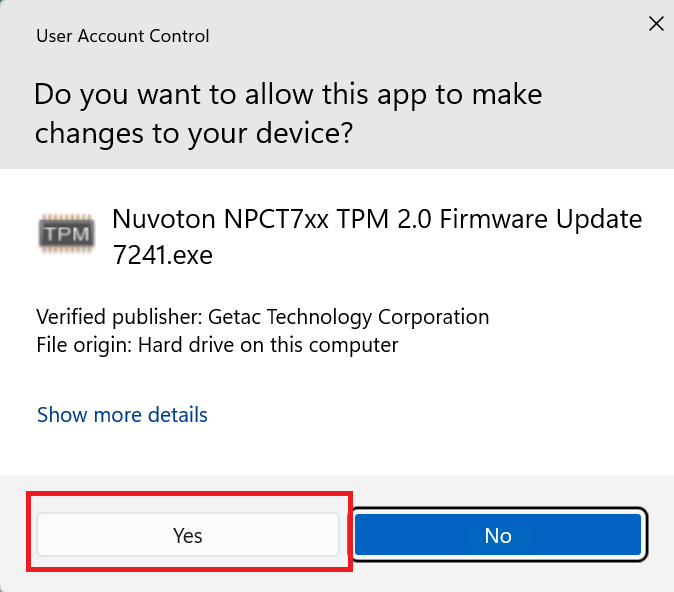
Picture 5
3. Click Next button (Picture 6)
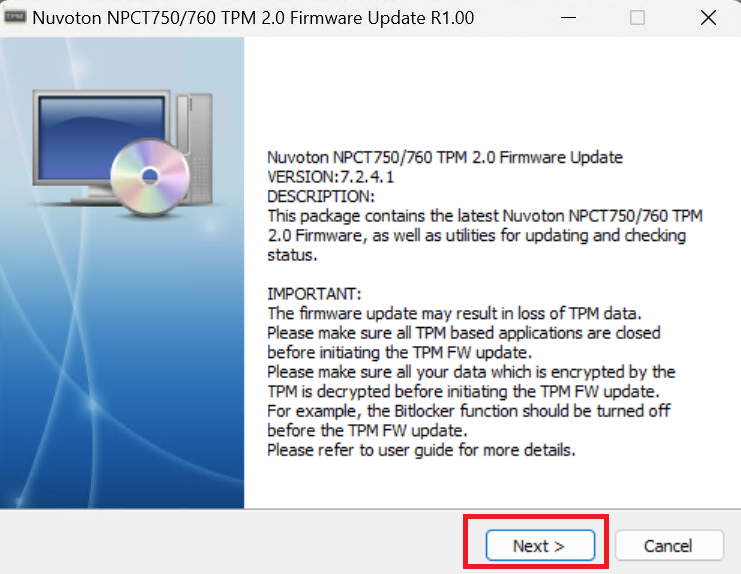
Picture 6
4. Click Yes button (Picture 7)
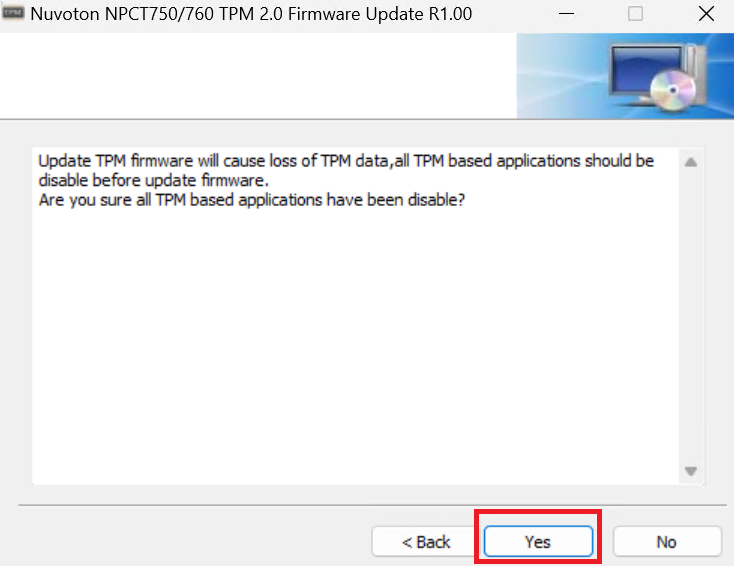
Picture 7
5. Choice I accept the terms of the license agreement, and click install (Picture 8)
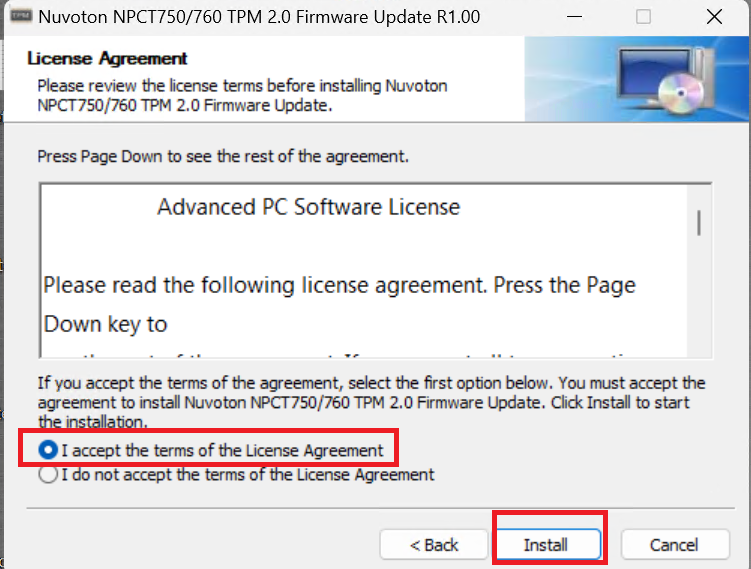
Picture 8
6. After TPM firmware update driver install successfully, the screen will show as Picture (Picture 9)
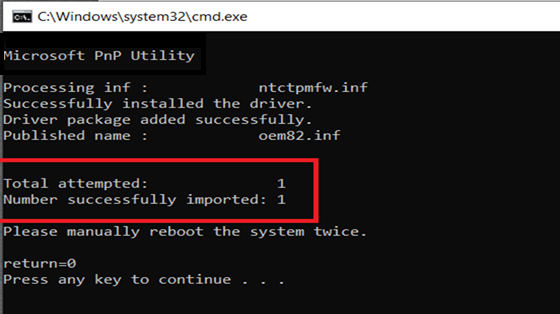
Picture 9
7. Please manually reboot the system as the screen instructs after successfully update firmware
8. After reboot, system will install an update (Picture 10)
Picture 10
9. After 1st update, system will automatically reboot and install the TPM firmware process with progress bar (Picture 11)

Picture 11
10. System will automatically reboot to Windows after progress bar is complete
11. The system does not detect the TPM module at this moment, please manually reboot the system
12. After the system reboot and enter Windows, the process of TPM firmware update is complete.
13. TPM based applications (including BitLocker) can be enable after Firmware update.