
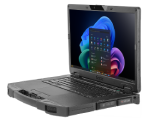
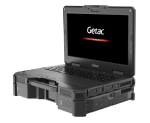

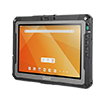

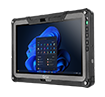
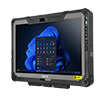
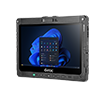

















Getac System Recovery
Getac System Recovery allows you to download and make a copy of your factory default image. An external bootable device for rebooting to your computer.
Benefits of Getac System Recovery
- Help end-users to reset their devices back to the Windows factory default setting
- Save your time to avoid returning your device to the service center
- Takes only four easy steps
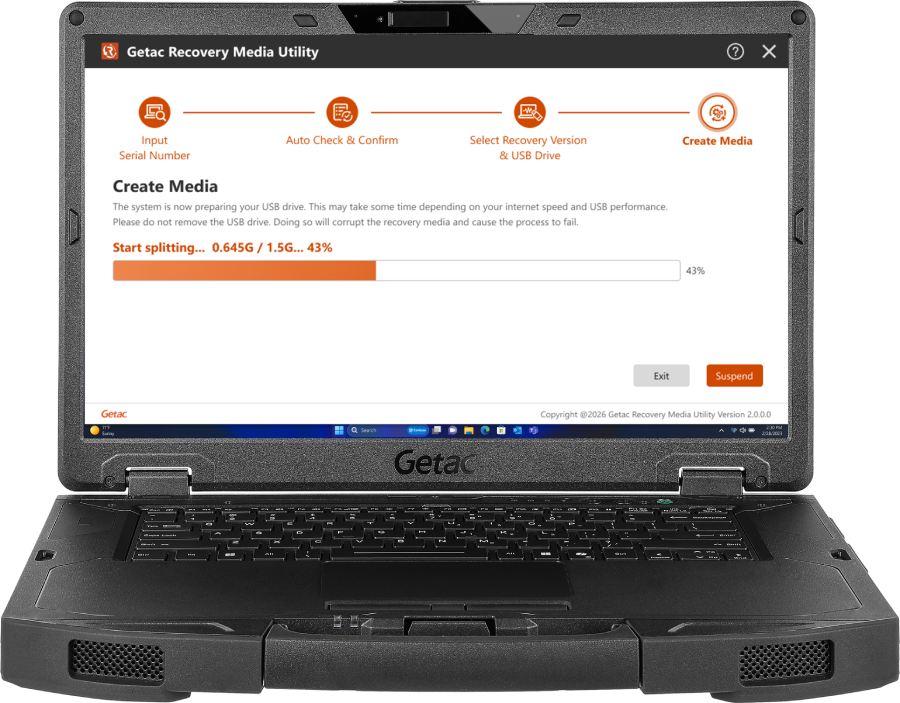
how to do?

STEP 1
Enter your device Serial Number to get drivers and software tailored to your model.

STEP 2
The system will automatically authenticate your serial number and retrieve the required configurations.

STEP 3
Select your preferred system version and target USB drive (the drive will be formatted during the process).

STEP 4
The system will create and configure the recovery media directly on your selected USB drive.
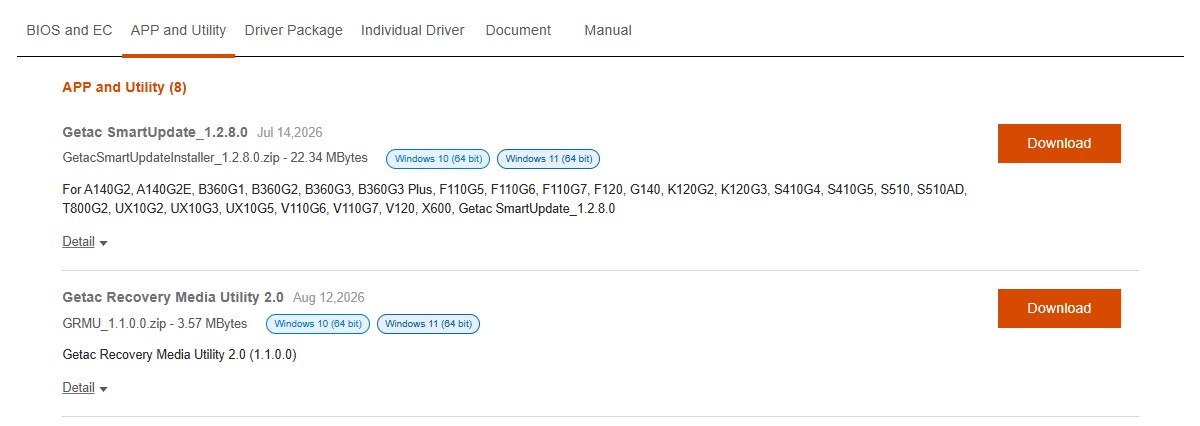
DOWNLOAD IN 3 EASY STEPS
1. After clicking “Access Here”, you’ll be directed to a download page. Type in your serial number or select your device model.

2. Click the “App and Utility” tab.

3. Find the application you need and click download. Done!
Note:
- Supports Windows 10, Windows 11, and later versions of Windows. Android and other operating systems are not supported.
- Supports standard models and approved customized models whose customizations do not affect the system image. Contact Getac Support to confirm compatibility for customized models.
- GRMU 2.0 restores the system to its original shipping image. Drivers remain at their original shipping versions and are not automatically updated.
Caution:
When installing this older version of Windows 10, you may encounter an issue where the system is unable to boot properly.
This may occur because the older Windows image does not yet include the latest Microsoft updates required for proper compatibility with the current Secure Boot environment.
If you encounter this issue after installation, please follow the steps below:
- Enter the BIOS Setup and temporarily set Secure Boot to Disabled.
- Save the BIOS settings and boot into Windows.
- Run Windows Update and install all available updates.
- Restart the system and run Windows Update again until Windows confirms that the system is fully up to date.
- Once all updates have been installed and Windows can boot normally, enter the BIOS Setup again.
- Set Secure Boot back to Enabled.
- Save the settings and restart the system.
After Windows has been fully updated, the system should be able to boot normally with Secure Boot enabled.
Note: Disabling Secure Boot is only a temporary workaround to allow the older Windows image to boot and complete the required Windows updates. Secure Boot should be re-enabled after the update process is completed.
Microsoft Secure Boot Certificate Transition (2023 CA) and BlackLotus Mitigation|Getac